10 Ways to Prevent Water Damage in Your Home
Water damage is the #2 home insurance claim. These 10 prevention steps cost little and save thousands in repairs.
1. Install smart leak detectors at every water source
These are now $15–$30 each on Amazon. Place under:
- Every sink (kitchen, bathrooms, laundry, wet bar)
- Behind every toilet
- Beside the water heater
- Behind the washing machine
- Under the dishwasher
- Beside the refrigerator (if it has a water line)
- In the basement near the sump pump
The phone alert when one trips is the difference between a $40 puddle and a $40,000 flood.
2. Replace washing machine hoses every 5 years
Standard rubber washer hoses are the single highest-failure plumbing item in a typical home. They burst without warning and discharge ~600 gallons per hour until you notice. Swap them for stainless-steel braided lines ($25 for a pair) the day you read this — and recalendar to replace every 5 years.
3. Know where your main water shutoff is — and test it
Half of homeowners don't know where their main shutoff valve is. Of those who do, half discover the valve is corroded shut the night they actually need it. Locate it now — typically in the basement, garage, or crawlspace where the main line enters the house — and turn it off and on twice a year. If it won't turn easily, replace it ($150–$300) before it fails.
4. Service your water heater annually
- Drain 1 gallon from the tank to flush sediment
- Test the temperature/pressure relief valve
- Inspect for corrosion at fittings
- Check the anode rod every 3 years; replace if more than 50% depleted ($30 part)
A water heater that fails catastrophically dumps 40–80 gallons in your house. A serviced one usually starts leaking small amounts first, giving you warning.
5. Re-caulk and re-grout high-water areas every 2–3 years
Look at the perimeter of your tub/shower, kitchen sink, and around toilets. Cracked caulk and crumbling grout let water into the subfloor where it does invisible damage for months before mold appears. A $7 tube of silicone fixes it.
6. Clean gutters twice a year (and after every storm)
Clogged gutters cause water to pour over the side, saturate foundation soil, and find its way into basements, crawlspaces, and exterior wall cavities. Clean in spring and late fall, plus after any major storm. Confirm downspouts deliver water at least 4 feet away from the foundation.
7. Slope your landscaping away from the house
The grade should drop at least 6 inches over the first 10 feet from any foundation wall. Settled soil that traps water against the foundation is the #1 cause of basement seepage. Add topsoil now; landscaping companies charge $500–$2,500 for serious regrades.
8. Test your sump pump every spring
Pour 5 gallons of water into the sump pit. The pump should kick on within seconds and fully drain it. If it doesn't, replace it — sump pumps last 7–10 years. While you're at it:
- Install a battery backup pump (~$200–$400) for power outages — most basements flood during storms when the power is out
- Add a high-water alarm ($30) that sounds before the pump fails
9. Inspect under sinks monthly
Open every cabinet under a sink, run the water for 30 seconds, and look for drips at supply lines, the P-trap, the disposal connection, and the dishwasher inlet. Catching a slow drip before the cabinet bottom rots saves $500–$2,000 in cabinet repair.
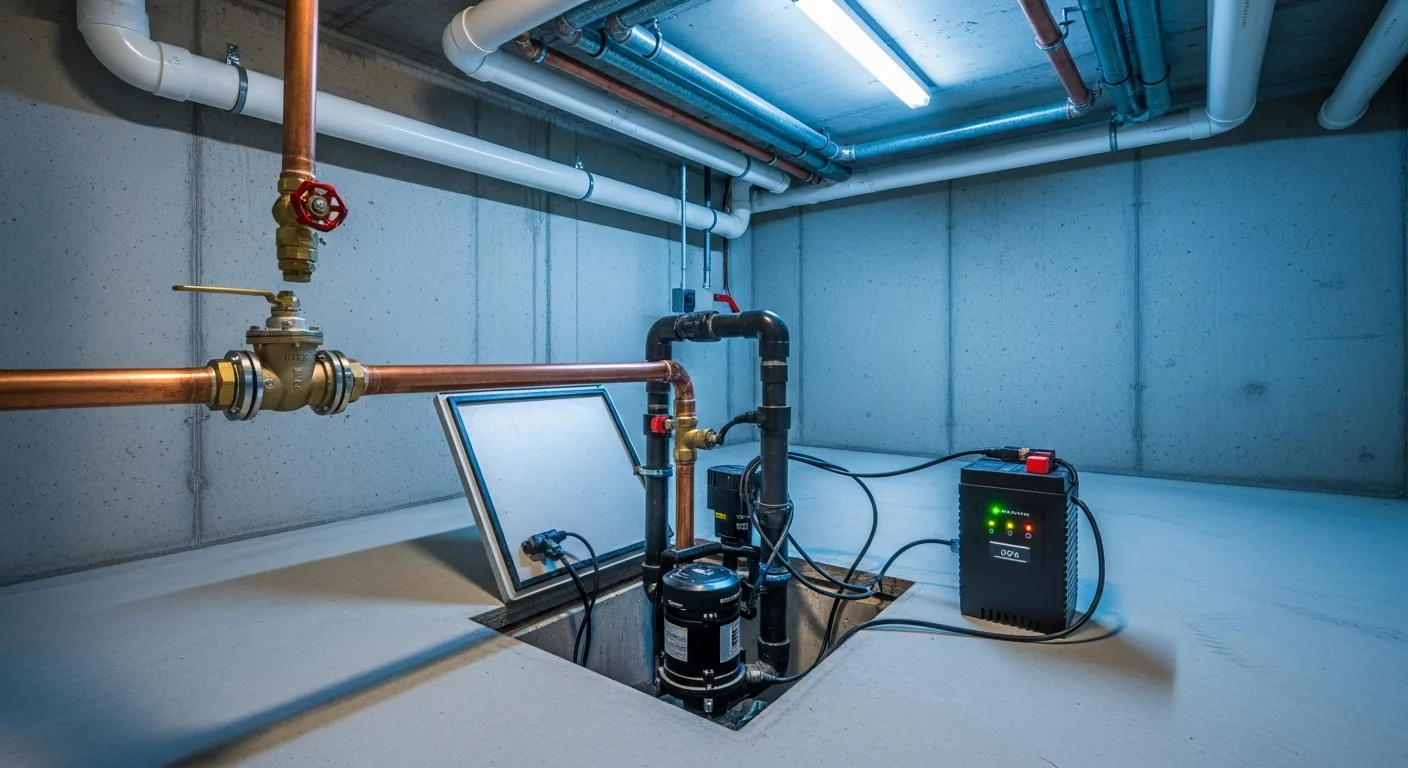
10. Install a whole-home automatic shutoff valve
Devices like Moen Flo, Phyn Plus, or LeakSmart install on your main line and learn your normal water-use patterns. When they detect anomalous flow (a burst pipe, running toilet, slow leak behind a wall), they shut off the entire house remotely and alert your phone. Cost: $400–$700 plus install. Many home insurers offer 5–10% premium discounts for installation, often covering the cost in the first 5 years.
Bonus: the 5-minute monthly walkaround
Once a month, walk these spots with a flashlight:
- Basement/crawlspace floor — any damp spots?
- Around water heater — any rust at fittings?
- Behind toilets — any condensation or moisture at the base?
- Under sinks — drips or water staining?
- Ceiling below upstairs bathrooms — staining or sag?
- Around windows — paint bubbling, staining at sills?
What to do if you discover water damage
- Find the source and stop it (shut off water to the fixture or the whole house)
- Photograph everything before moving anything
- If the water has been there more than 24 hours OR if it's contaminated, call a water-damage restoration company before doing DIY cleanup — mold can start within 24–48 hours
- Notify your insurance company within their reporting window (often 72 hours)
- Move undamaged items out of the area; don't run damaged appliances
The bottom line
The whole 10-step program above costs about $400 in parts and one weekend of labor. Compare that to the average water-damage claim and the math is uncomfortable: this is the highest-ROI maintenance you'll ever do. Get matched with a vetted local plumber for the items beyond DIY.
Sources & further reading
- Insurance Information Institute — Protect Your Home from Water Damage — the source of the "#2 home insurance claim" stat used in this article.
- IBHS — Insurance Institute for Business & Home Safety — research-backed prevention guidance for water intrusion.
- IICRC — the certifying body behind the S500 Water Damage Restoration Standard followed by reputable mitigation pros.
- FEMA — Flood Information — federal guidance on flood risk and the National Flood Insurance Program.
Frequently asked questions
Failed washing-machine supply hoses, burst pipes (often from freezing), and slow leaks under sinks and around toilets account for most residential water-damage claims.
Yes. At $15–$30 each they are among the cheapest, highest-ROI home upgrades. A single tripped sensor that catches a leak before it floods a finished area routinely prevents thousands in damage.
Most policies cover sudden, accidental water damage from plumbing failures. Most do not cover gradual leaks, neglected maintenance, sewer backups (separate rider), or flood damage (separate flood policy).